2901 Takens Court – 3.9KW (AC) Solar System
Installation Journal – June 10-12, 2009
Kerry Trembath
Day 1 – June 10, 2009
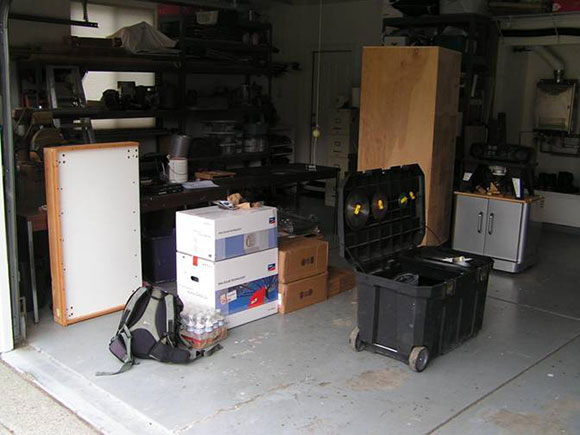
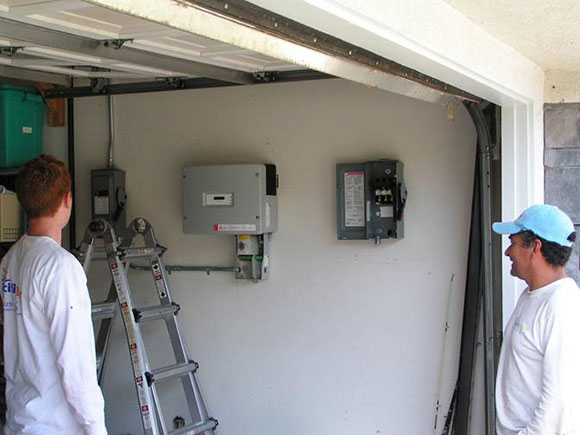
This morning, the Pacific Solar Installation crew and their boss, Dave Pascualy, arrived to begin installation of a 3.9KW solar photovoltaic system. The picture below shows the inverter and some other parts that were placed in the garage.
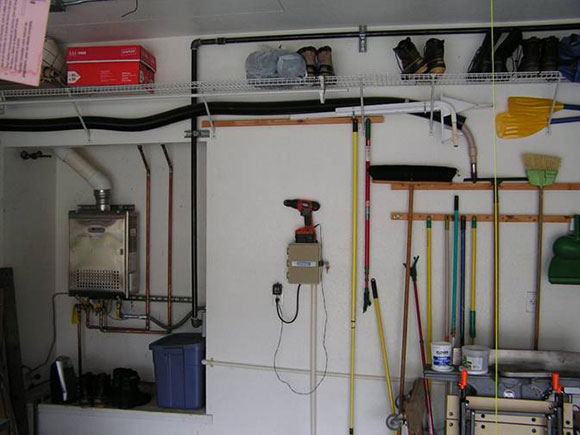
Below is the place in the garage chosen for the inverter.
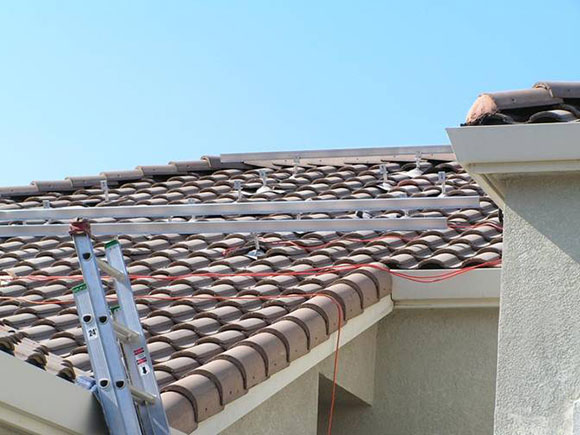
After some discussion about where to place the inverter the crew got started on the roof. You can see them up there in the following picture.

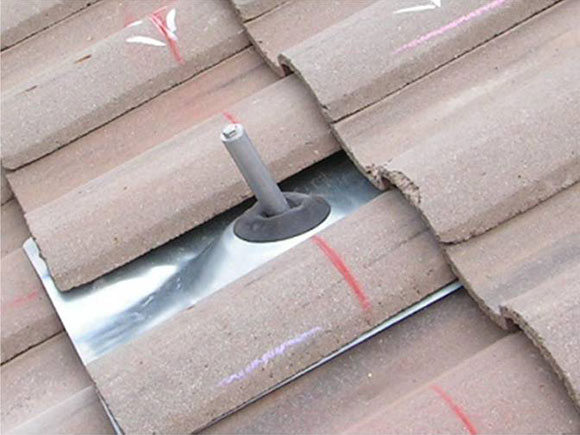
The weather was drizzly in the morning and the plan was to install the inverter and other electrical equipment if it became too dangerous to be on the roof. Fortunately, the weather improved and the crew got busy installing the 36 anchor points. To install an anchor point, one or more tiles are removed in a place that is over a stud. Next the anchor point is attached to roof with a lag bolt that goes down into the stud. 50 year sealant is used under the anchor point to keep everything watertight. In the picture below you can see one of these stainless steel anchor points. Note the black sealant that has extruded out from under the anchor point. There is a socket in the anchor point and in the bottom of this socket you can see the head of the anchor bolt that secures it to the stud below. Note that this socket is threaded so that a post can be attached.

In the picture below you can see a metal flashing has replaced the tile and a post is now sticking up through the flashing. There is a rubber grommet around the post to keep the water out. At the base of the post is one of the anchor points shown earlier
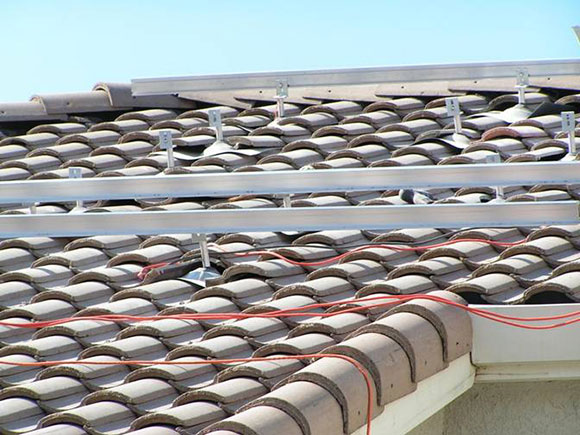
Installing the 36 anchor points, flashing & posts took a four man crew most of the first day. The next step was to install the rails. You can see them in the picture below.
Below is a close-up showing the posts, brackets & rails
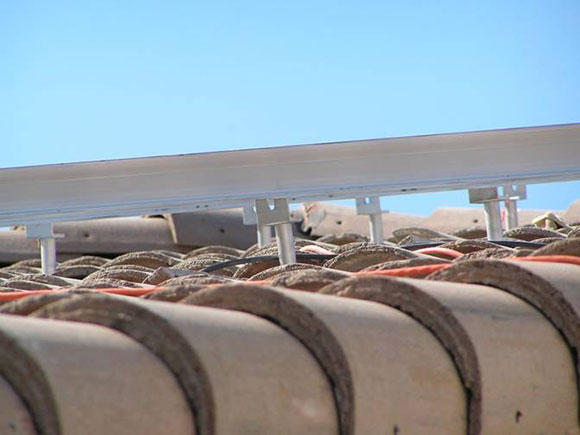
Here’s a shot from a bit farther away.
Day 2 – June 11, 2009
Below is one panel still in the box.

I also took a picture of the label on the backside.

Moving the panels from the ground to the roof is done manually as shown below. The installer carries the panel up the ladder by himself.

When I came home for lunch most of the panels were installed as shown below.

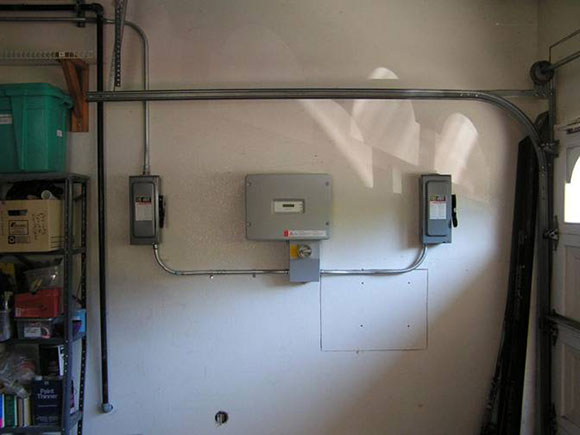
The inverter location ended up on the east inside wall of the garage. The electric meter is on the outside of this same wall. The inverter is the big box in the middle. The two smaller boxes on either side are disconnects: one for DC and one for AC.
By the end of day 2 all the panels were in place as shown below.

Day 3 – June 12, 2009
At the end of this day, the system was installed and ready for inspection. The focus of day 3 was finishing electrical connections and trimming excess rail length.
The picture below shows the finished inverter installation.
Below is a picture of the house after all the work is done.

Epilogue: On June 15 the city of Pleasanton inspector approved the project and we turned it on. The final step will be for PG&E to replace the old meter with a new time-of-day meter.